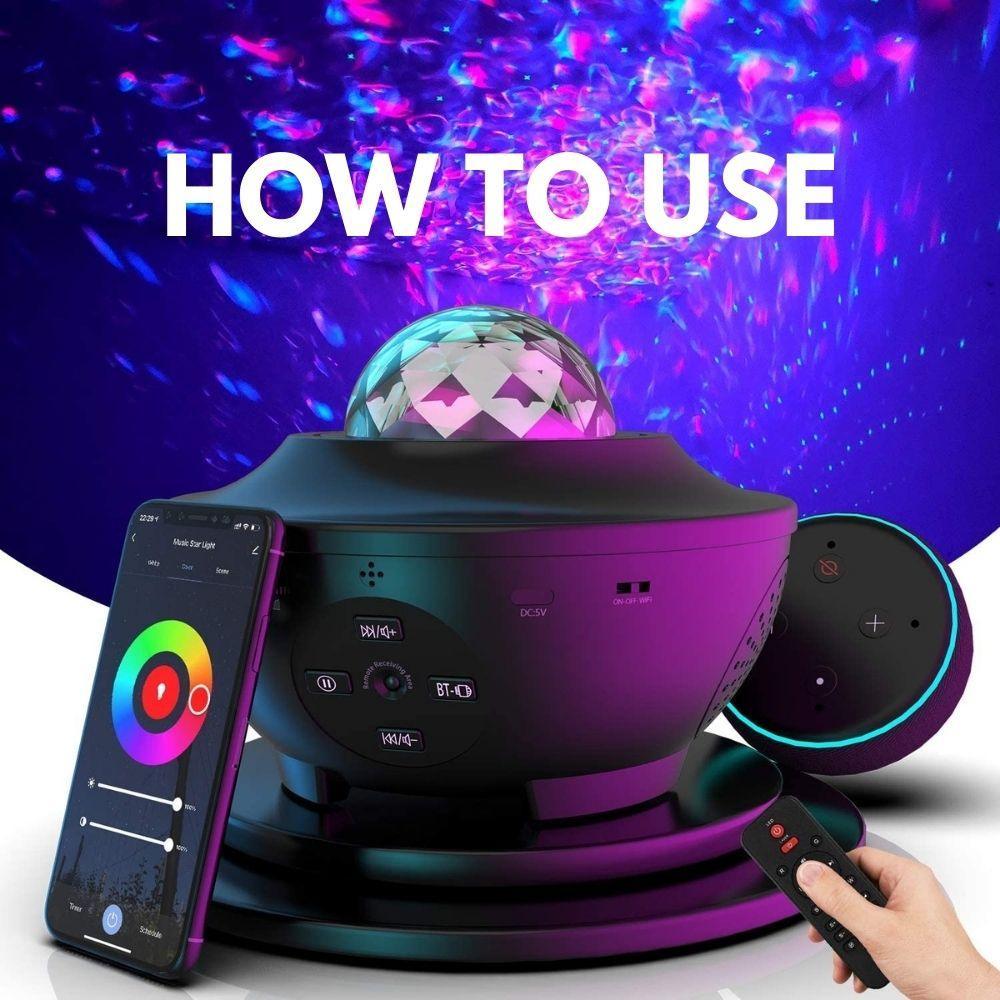
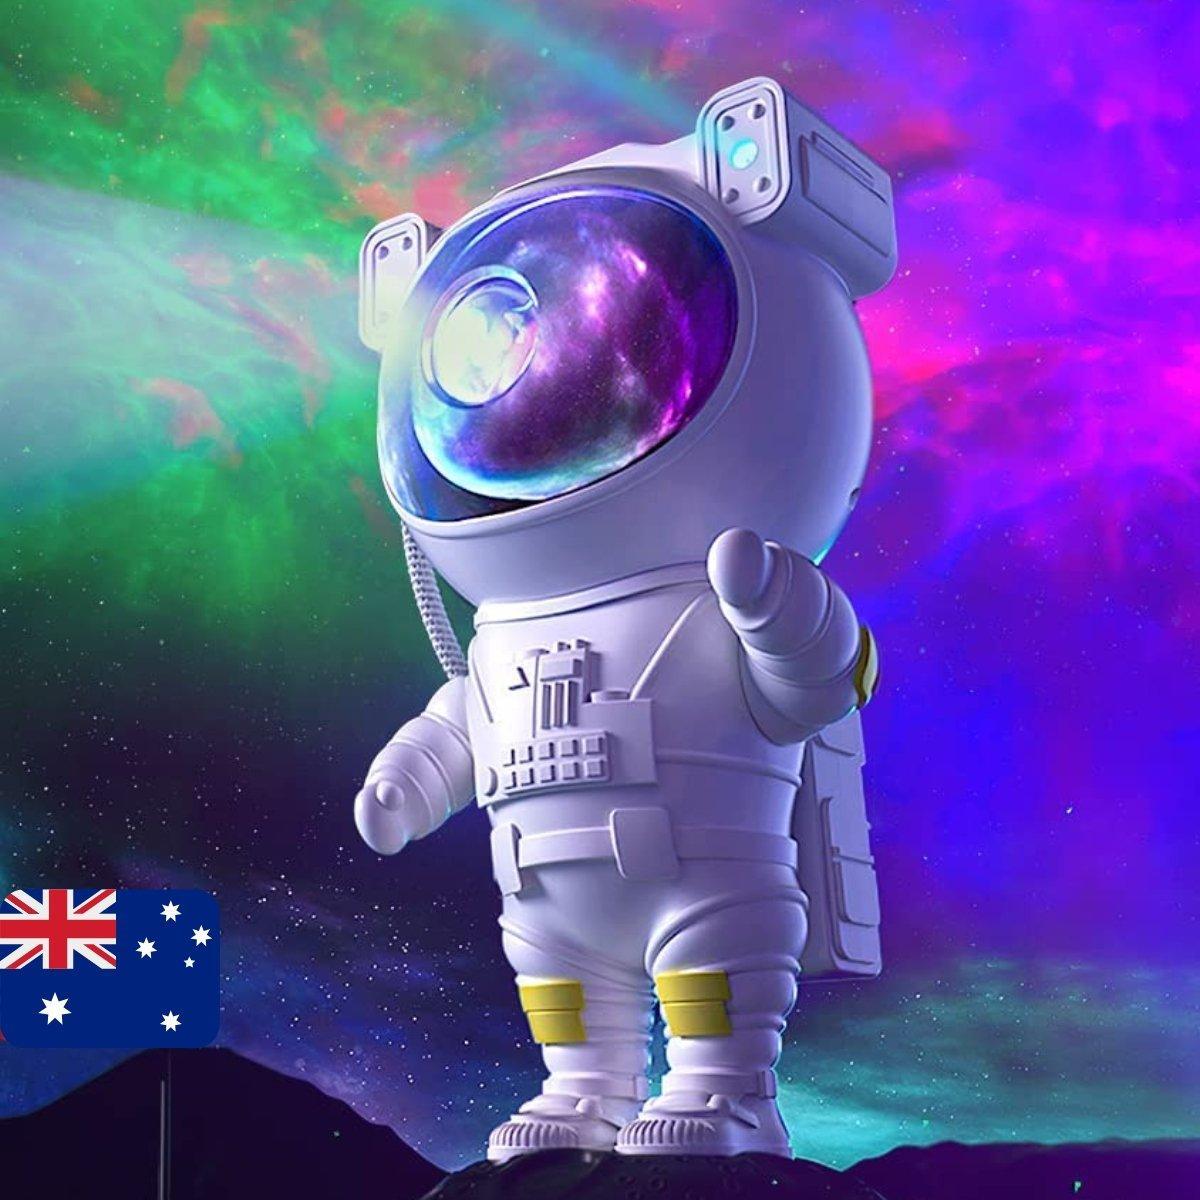
Discovering the universe in the comfort of your home has never been easier! With our Galaxy Star Projector, you can transform any space into your very own intergalactic experience. But how exactly do you set up and use this device? In this blog, we'll walk you through the process step-by-step, ensuring you're ready to embark on your cosmic journey!
What's Included in the Package?
Each package comes with:
- 1 x Galaxy Star Projector
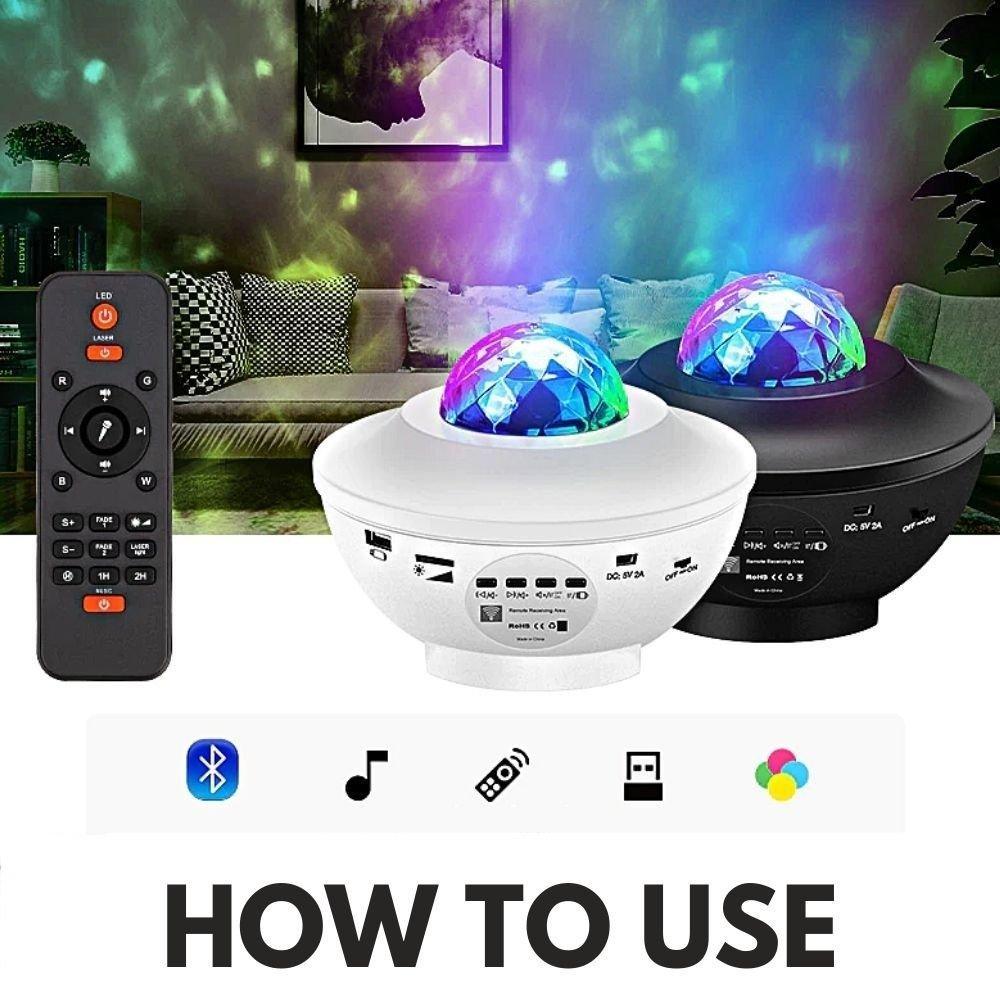
- 1 x Remote
- 1 x USB type
Please note that batteries for the remote are not included, and this device does not support 5G Wi-Fi.
Getting Started
Setting up your Galaxy Star Projector is straightforward:
-
Open the packaging and connect the provided USB type - C cable to any adapter or power bank (not provided).
-
Switch the projector on. It will prompt something like "Bluetooth is on".
-
Insert 2 x AAA Batteries (not included) into the remote.
Operating the Device
You have two options for operating your Galaxy Star Projector:

-
Remote Control: Use the included remote to control the device's settings.
-
Bluetooth Connectivity: This setting allows you to play music from your phone by pairing it with the projector. Simply enable your phone's Bluetooth, discover new devices, and connect.
Connecting with the Smart Life or Tuya Smart App
Take full control of your Galaxy Star Projector by connecting it with the "Smart Life" or "Tuya Smart" app. Here's how:

-
Download either the "Smart Life" or "Tuya Smart" app.
-
Turn on Wi-Fi and Bluetooth on your device.
-
Connect the provided USB type-C cable to the Galaxy Star Projector. These devices are plug-and-play, meaning they need to be connected to power to operate. You can use a power bank for easy access.
-
After installing the app, launch it and register using your email to access the dashboard.
-
After logging in, click the (+) sign in the upper right corner and choose auto scan.
-
To make the Galaxy Star Projector discoverable, turn it on and off 5 times. When it prompts "Bluetooth is on", switch it off and on again. Repeat this 5 times.
Note: If you do this process too fast or too slow, the device may not show up in the app. Sometimes, even when done correctly, it may not connect immediately. If this happens, try connecting your phone's Bluetooth to the device to ensure it's discoverable in the app.
Remember, the app does not connect with 5G Wi-Fi. If you have an NBN connection, you'll likely have two Wi-Fi connections available. For instance, if your connections are Telstra682E and Telstra682E-5G, connect with Telstra682E. Wait for the connection to complete 100% before using the app.
Connecting with Alexa & Google Assistant
Control your Galaxy Star Projector with voice commands by connecting it to Alexa or Google Assistant:
- Download the "Amazon Alexa" app.
- Search "Smart Life" on the "Alexa Skill".
- Authorize Alexa to log in to the "Smart Life" app.
- Click "Add Device" to discover the star projector.
- And you're done! You can now control your projector with voice commands.
The steps to connect with Google Assistant are the same.
With these steps, you're all set to enjoy your Galaxy Star Projector. Explore the cosmos from your home and immerse yourself in the beauty.
Looking for a simple easy to use with remote galaxy projector, check out our Galaxy projector with remote control.


1 thought on “How to Connect Your Smart Star Galaxy Projector to Your Phone?”
Carmen Revelez
I love it