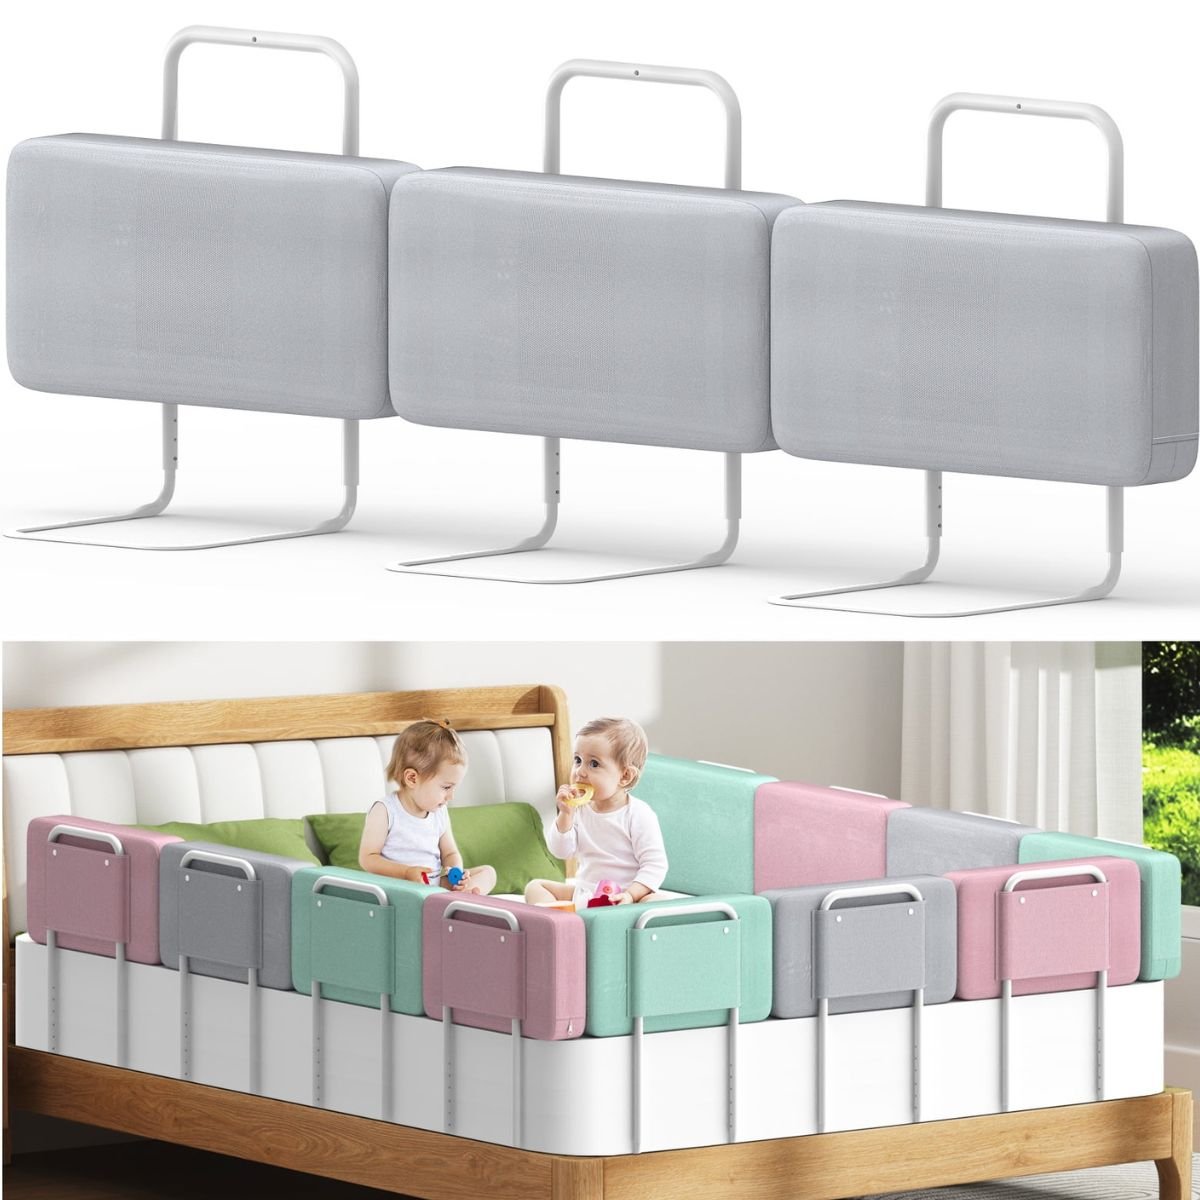
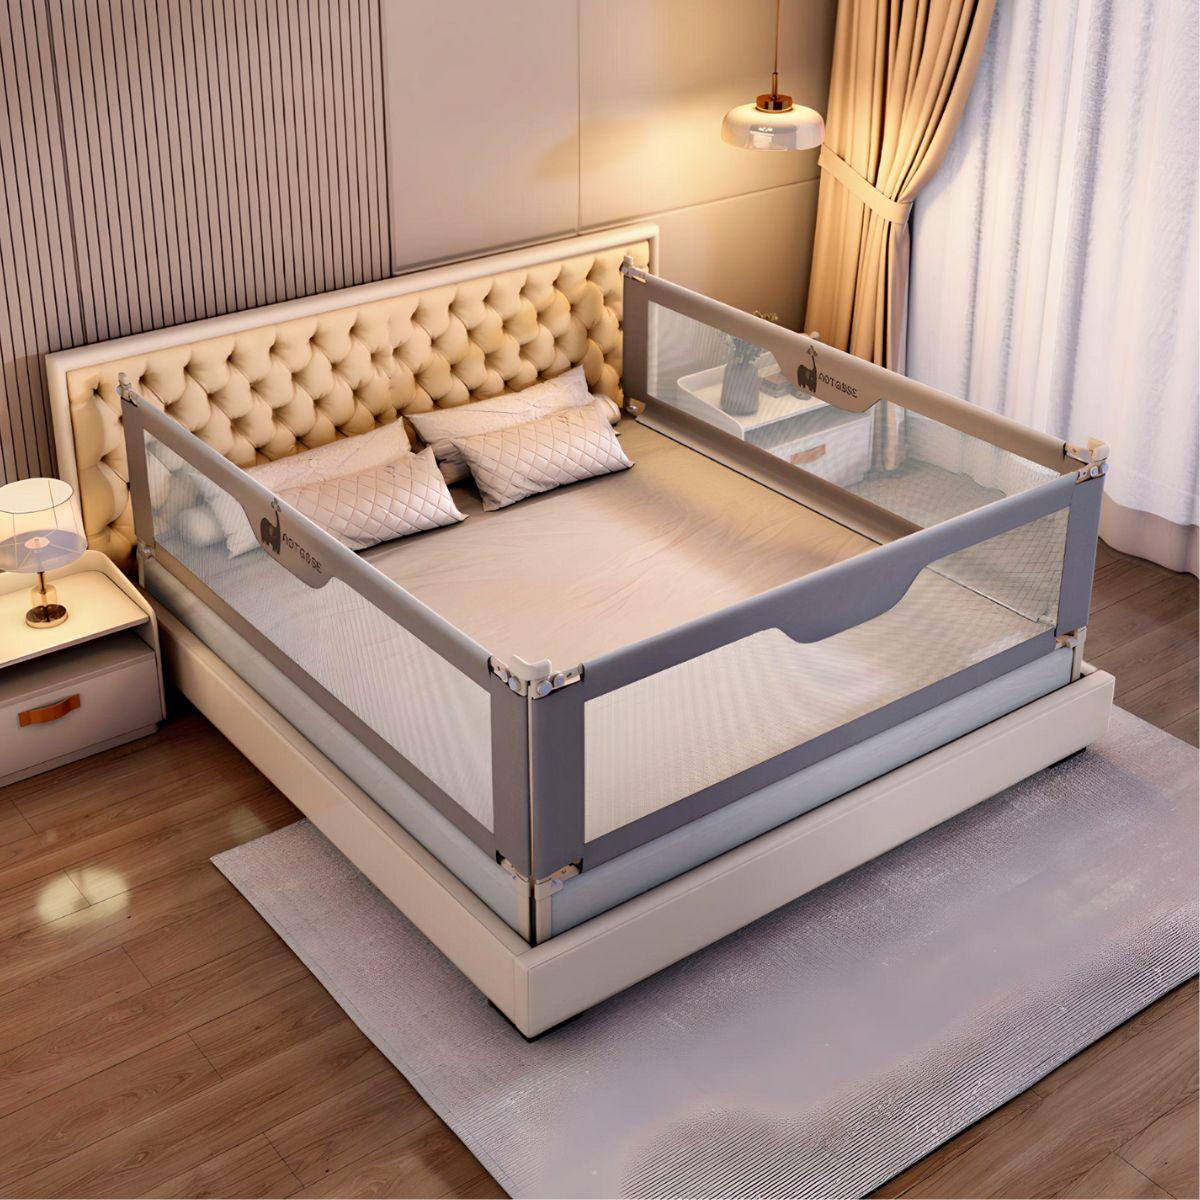
The Toddly DreamGuard ensures your child’s safety during sleep. Here's a guide to installing the single bed rail. If you have purchased the entire set for comprehensive bed coverage, repeat the process for each side of the bed.
Detailed Video Guide on how to install bed rails:
Detailed Video Guide on installing Footplates
Step 1: "Unpacking and Inventory Check"
-
Carefully remove all components from the package.
-
Each Package Includes
- 2 x L shaped rod (Base - 1 x left and 1 x right)
- 2 x lifting rods (1 x left and 1 x right)
- 3 x upper connecting rods with sponge (retain the sponge)
- 3 x lower or bottom connecting rods
- 1 x Toddly DreamGuard Oxford fabric (fence mesh)
- 1 x multi-sided connector
- 4 x screws
- For Toddly Dreamguard Set
- Above Package x 3
- 4 x Footplates with 12 x chicago screws
- 2 x Gap Guard Foams
-
Lay out all components and familiarise yourself with each part.


Step 2: "Preparing the Fabric Mesh"
-
Insert the three upper connecting rods into the top end of the fabric mesh.
-
Ensure the rods connect seamlessly with each other using the inbuilt locks. Verify that the locks are properly set.
-
Insert the three lower/bottom connecting rods into the part of the fabric mesh where "Toddly DreamGuard" is written.


Step 3: "Adjusting the Height of the L-Shaped Rods"
-
Adjust the height of the L-shaped rods using the switch/height adjustment clip on the lifting rods.
-
Connect the L-shaped rods with the lifting rods using the switch provided. Adjust the height as necessary.


Step 4: "Assembling and Securing"
-
Ensure the pocket on the fabric mesh is facing outwards. This can be used to store small and light items.
-
Ensure the buttons on the fabric mesh are facing outwards.
-
The switch/height adjustment clip should align horizontally with the bed. Close the end using the provided zip.
-
Make sure the inbuilt connections of the rods are seamless, the locks are in place, and there's no gap for the switch/height adjustment clip.


Additional Step: Installing the 4x fittings for the entire set.
Package Includes: 4 x Fittings and 8 x Screws (4 x screws and 4 x attachments)


Step 5: "Final Checks"
- Firmly press down on the bed rail to ensure it's securely attached and doesn't wobble.
- Make sure no end is loose and all connections are seamless. Remember, the bed rails are designed to be operated from the outside, preventing children from creating any safety hazards. This ensures your child remains safe and secure within the confines of the bed rails.
Conclusion: Congratulations! You've successfully installed the Toddly DreamGuard for a single bed. Always prioritise your child's safety by ensuring the bed rail is securely fastened and frequently checking for any wear or damage. Happy parenting!





1 thought on “How to install Baby Bed Rails”
Aimee
Great product – reduces mumma anxiety when cosleeping!